Regulatory road signs: The physical laws of vehicle survival
Regulatory road signs are the absolute commands that manage the physical interaction between vehicles on the asphalt. Unlike warning signs, which merely suggest caution, these red, white, and black markers dictate the legal and mechanical hierarchy of the road. Ignoring a regulatory sign is a direct gamble against the road's geometry and the structural integrity of your vehicle. Whether you are managing a high-speed transit on an interstate or navigating narrow urban sectors, these commands are the only protocol preventing high-impact collisions and total logistical collapse.
| Regulatory Sign Logistics | |
|---|---|
| Legal Status | Mandatory Enforcement |
| Primary Function | Right-of-way & Flow Control |
| Hazard Level | Critical (Head-on & T-bone prevention) |
| Color Protocol | Red (Stop/Prohibit), White (Information) |
Why are Stop and Yield signs critical for intersection hierarchy?
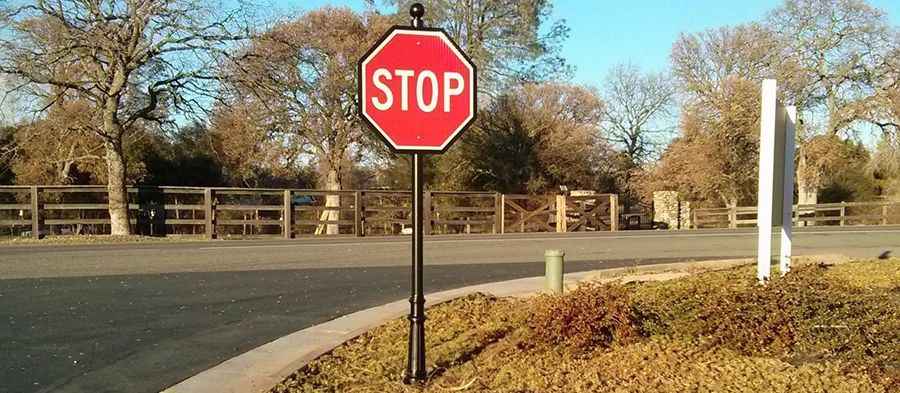
Intersections are high-risk points where the kinetic energy of different vehicles converges. The Stop sign demands a total cessation of movement; failing to stop completely—or attempting to "fer vela" (coast)—is a failure to reset the right-of-way. You must kill the vehicle's momentum at the line to allow the braking system to stabilize before scanning for gaps. The Yield sign is a logistical tool for maintaining flow, allowing for a rolling transit only if the path is clear. When this hierarchy is ignored, especially in areas with heavy utility vans and trucks, the result is the classic T-bone collision, where the side-impact protection of the cabin is at its weakest.
How do Speed Limit signs reflect the road's geometry?
Speed limits are not arbitrary; they are calculated based on the asphalt's friction coefficient, the bank of the curves, and the stopping distance of an average load. When you exceed the limit, you are overstressing the vehicle's dynamics. High-speed differentials between vehicles are the primary cause of multi-car pileups. If the sign indicates 80 km/h, the road's turns are designed for the centrifugal force at that pace. Suddenly entering a construction zone or a town requires immediate braking to drop the energy; failing to do so puts an immense load on the pads and increases the risk of a high-speed rear-end collision where the reaction time is reduced to milliseconds.
What is the protocol for Wrong Way and Do Not Enter markers?
These red-and-white indicators are the final barrier against a head-on collision. Often placed at exit ramps or specialized transit lanes, they signify that the road's flow is moving directly against you. If you face a "Wrong Way" sign, the mechanical protocol is immediate: pull to the shoulder, kill the engine, and find a safe way to reverse or turn around. In urban centers where buses and commercial vans move in dedicated lanes, ignoring these signs puts you on a suicide path against vehicles that are not expecting an obstacle in their lane. This is a high-risk zone where structural failure is almost guaranteed upon impact.
How to manage the logistics of One-Way and No-Entry zones?
Navigating urban sectors requires strict adherence to one-way signs to avoid logistical deadlocks. Entering a "No Thru Traffic" or "Private Drive" area with a large vehicle or a motorhome is a technical error. These zones often have narrow clearances, tight cul-de-sacs, and low-hanging infrastructure not designed for commercial dimensions. Ignoring these signs leads to forced three-point turns on tight corners, stressing the steering rack and risking damage to the vehicle's bodywork against stone walls or parked cars. Beyond the legal fine, respecting these signs prevents you from getting trapped in a bottleneck where the only exit is a high-risk reverse maneuver.
What mechanical prep is needed for high-frequency stop-and-go?
In environments dominated by regulatory signs, such as city centers or mountain passes with frequent stops, your vehicle’s braking and cooling systems are under constant load. Verify that your brake fluid has a high boiling point to handle the repeated stops. Check your transmission’s cooling efficiency; slow-speed crawling and constant shifting between gears generate significant heat. In areas with high-frequency speed changes, maintain a clean air intake to ensure the motor can respond quickly to acceleration commands after a stop. In any technical drive, following the signs is not just about the law—it's about ensuring the vehicle remains operational and the xassis stays intact.