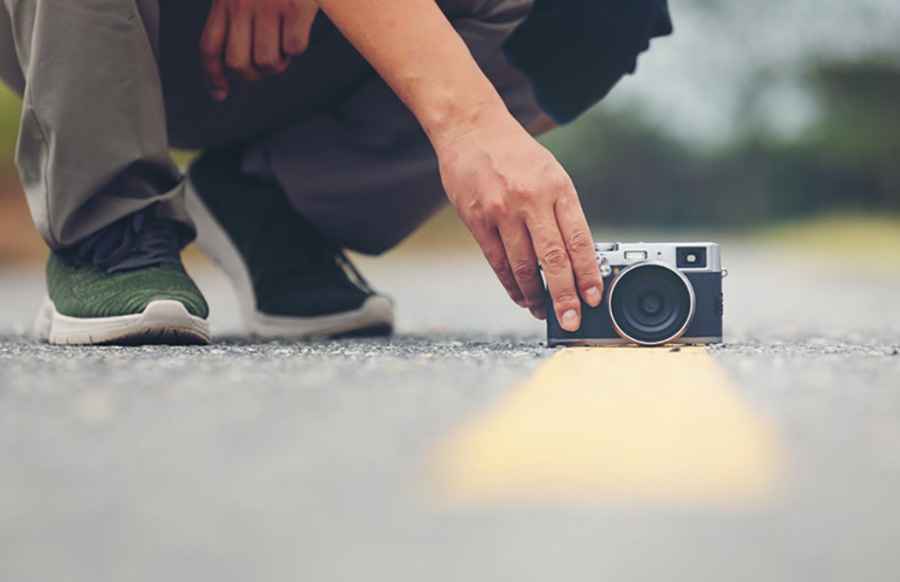
10 Tips for Filming with Action Cameras
There’s a special moment on every trip when you wish you could bottle what you’re seeing: an empty sunrise highway, a busy street, a first glimpse of the ocean around a bend. That’s where action cameras shine. They’re small, tough, and light enough to carry with you.
Action cams are perfect for making long road trip vlogs, documenting city walks, hikes, dives, and all the little in-between moments that actually make a journey memorable. With a bit of planning and a handful of smart habits, you can bring home action camera footage that feels like your trip, not just random clips.
Below are practical action camera tips that work no matter what you’re trying to capture.
1. Safety and comfort first (yes, even on vacation)
Even when you’re relaxed and in “holiday mode,” it’s easy to get distracted by your camera. Whether you’re filming on the road, crossing a busy street, or scrambling up a viewpoint, your safety comes first.
A few simple rules:
- Mount and adjust your camera while standing still, not while driving, cycling, or running.
- Use reliable mounts and straps, and double-check them before you start moving.
- Set your basic exposure, stabilization, and frame rate before you take off so you’re not scrolling through menus at the worst possible moment.
The goal is to make the camera part of your normal travel setup, not a constant distraction. If you’re at ease, your footage will actually look more natural, too.
2. Build a simple, flexible adventure video setup
A good adventure video setup for travel is compact and predictable:
- One main action cam you know really well
- 2–3 batteries and a power bank
- A couple of go-to mounts: helmet or chest, plus something for the car or bike
- A small grip or selfie stick for walking shots and quick pieces to camera
For most trips, three main angles cover almost everything:
- POV from your head or chest: great for hikes, bikes, scooters, and any time you want people to see what you see.
- Front mount on a vehicle: shows the road, scenery, and traffic ahead during a road trip.
- Handheld / grip: perfect for talking to the camera, capturing food, markets, and quiet moments at your accommodation.
Once you have these few pieces dialed in, you can stop worrying about gear and focus on where you’re going.
3. Stabilization and frame rate
Travel is rarely smooth. And your camera will pick up everything, even the imperfect stuff.
A simple, reliable setup:
- Turn on stabilization. Choose “High” or the equivalent if your camera offers it, especially in vehicles or when you’re walking over uneven ground.
- Frame rate: 30 fps works well for most daytime scenes. 50/60 fps is great for filming action like biking, skiing, or running, and gives you the option of slow motion for key moments.
Avoid relying on digital zoom while moving. If you want close-ups of wheels, hands, or details on dangerous roads, film them separately when you’re parked or standing still, then use those shots creatively in your edit.
4. Use the environment to get cinematic travel shots
Travel gives you ready-made scenery: coastline roads, old streets, mountain trails, and city skylines. You don’t have to be a pro cinematographer to make them look good.
Some easy habits:
- Let lines guide the viewer. Roads, railway tracks, fences, and rivers naturally lead the eye into the frame. Position them so they draw attention toward your subject or the horizon.
- Add a bit of foreground. A piece of your vehicle, your backpack strap, a part of your bike, or a café table edge adds depth and makes viewers feel like they’re in the moment with you.
- Keep the horizon under control. Slightly tilted can feel dynamic, but wildly crooked usually just looks like a mistake. Use horizon leveling if your camera has it.
If you’re aiming for more cinematic travel shots, try mixing wide “establishing” views of a location with a few tight details: your boots on a trail, local street signs, hands on the wheel, or a coffee cup next to a map.
5. Think in mini-stories, not random clips
A simple approach: think in small sequences.
For example, if you’re about to cross a long bridge or drive a scenic coastal stretch:
- Shoot a quick intro: a short piece to camera explaining where you’re going and why it’s cool.
- Grab a POV or front view while you’re on it. Just let the camera run and enjoy the moment.
- Afterward, film a reaction shot: parked at a viewpoint, or sitting on a bench, talking about how it felt.
Those three clips together already feel like a story. This structure works for all kinds of travel. And when you start piecing a travel video together, editing becomes a fun puzzle instead of a frustrating rescue mission.
6. Light, weather, and a constantly dirty lens
Travel means you’re moving through very different light: harsh sun at noon, neon city lights at night, shady alleys, tunnels, and overcast mountain passes.
Keep these in mind:
- Don’t fight every shadow. A bit of contrast is fine. Let some areas stay darker instead of pushing ISO so high that everything turns grainy.
- Use ND filters if you shoot a lot in bright sun. They help avoid blown-out highlights and keep motion looking natural.
- Wipe the lens often. Make a habit of gently cleaning the lens every time you stop for a break.
A little awareness goes a long way. You don’t need to obsess over perfect exposure on every shot, but avoiding the extremes makes your action camera footage much easier to work with later.
7. Don’t forget sound
People remember the hum of a train, the echo in a narrow street, the noise of traffic, or the silence of a high pass just as much as what they saw.
Some quick wins:
- Use an external mic if you can. Even a tiny microphone clipped inside your jacket or helmet can cut wind noise and capture your voice more clearly.
- Talk to the camera. Share what’s going on in short bursts: “We’ve been stuck at this border for two hours,” “This climb is brutal,” or “This road looks harmless, but it’s full of hidden potholes.”
- During travel video editing, keep a bit of natural sound under music: footsteps, distant conversations, engine noise. It grounds your shots in reality.
You want something that feels honest and helps people feel like they were there with you.
8. Mix drone and action camera footage for context
If you have both a drone and action camera, treat them like two halves of the same story.
The action cam shows your experience: walking through a street market, climbing a rocky path, driving a narrow mountain road. The drone pulls back to show where you are: the whole village, the coastline, the winding road wrapped around a hill.
A simple combo that works almost anywhere:
- Start with a drone shot of the area: a beach town, a pass, a lake, or a city skyline.
- Cut to POV or handheld from your action cam, showing what it feels like on the ground.
- Use another drone and action camera pair of shots when you leave: pulling away from the location as you move on.
This structure instantly makes your videos feel bigger without making them complicated.
9. Storage, batteries, and formats
Nothing kills the mood like your camera stopping right when something cool happens because the card is full or the battery dies.
Before you start your day, charge all batteries and pack a power bank. Use fast, reliable memory cards and bring spares. Clear cards properly instead of deleting random clips in a hurry.
Action cams sometimes save files in formats or codecs that older devices or some platforms don’t love. If you hit playback problems or weird compatibility issues, it’s usually easier to convert video online to a more common format once, then use those files everywhere without thinking about it.
A tiny bit of organization at the end of each day (like backing up and labeling your footage) makes life much easier if you’re editing on the road or once you’re back home.
10. Capture the “in-between” if you want a real travel story
People love seeing famous landmarks, but what really makes your video feel different from everyone else’s is everything in between: getting lost, waiting for a delayed train, eating terrible snacks at a gas station, or finally finding that perfect view.
Shoot small fragments of your routine: packing in the morning, buying street food, checking maps at a café, the state of your shoes after a long hike, etc. This is also what helps if you ever decide to become a travel blogger or create regular content around your trips. Viewers start to recognize your habits, your sense of humor, your way of framing things, not just the places you visit.
Final thoughts
Keep your setup simple, let the environment work for you, think in little stories instead of random shots, and remember that sound and “boring” moments matter just as much as the big views. Your action cam can do more than prove you were there. It can capture what the journey really felt like.